
How to Calibrate a Digital Thermometer: The Complete Step-by-Step Guide
A drifting thermometer can throw off everything from a perfectly seared steak to a sick child’s fever reading. This guide walks through every reliable calibration method — ice point, boiling point, and reference-thermometer comparison — with clear visuals for every step.
Why Calibration Matters
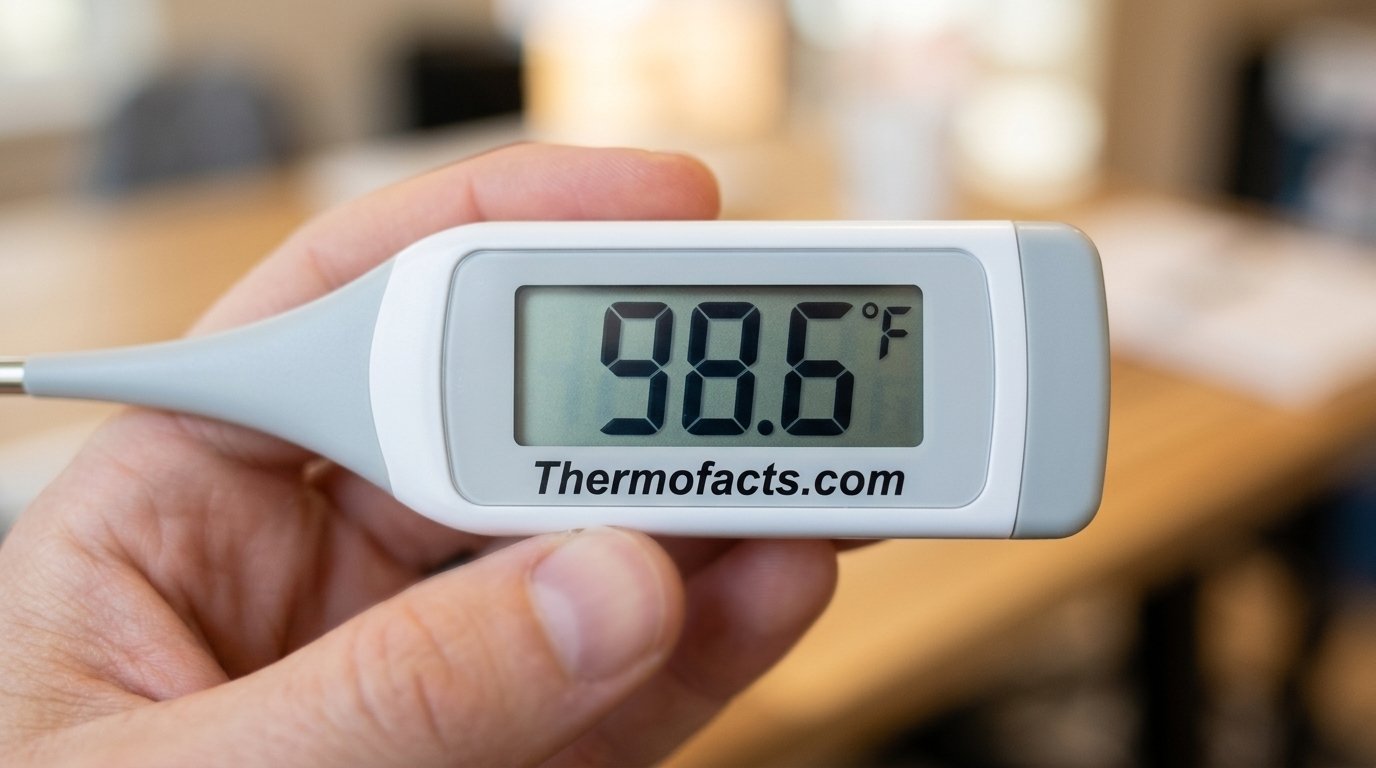
Every digital thermometer drifts over time. Drop it once, leave it in a hot car, or simply use it for a year or two, and the internal sensor can shift a degree or more from true. That doesn’t sound like much until you realize a degree can be the difference between a food thermometer telling you chicken is safely cooked when it isn’t, or a medical thermometer telling a parent their child doesn’t have a fever when they actually do.
Calibration is the process of checking a thermometer’s reading against a known, fixed reference point — usually the freezing or boiling point of water — and correcting for any discrepancy. It’s quick, it costs nothing, and it should be a routine habit for anyone who depends on accurate temperature readings, whether that’s in the kitchen, a workshop, a lab, or a medicine cabinet.
If you’re still deciding which thermometer to buy in the first place, our roundup of the best digital thermometers is a good place to start before you worry about calibration at all.

A dependable instant-read thermometer with a calibration screw built into the probe housing, making manual recalibration simple.
Check Price on AmazonWhat Is a Digital Thermometer?
A digital thermometer uses an electronic sensor — typically a thermistor or thermocouple — to measure temperature and display the result numerically, rather than relying on the expansion of a liquid inside a glass tube like older mercury or alcohol thermometers. Because the reading depends on the sensor’s electrical resistance changing predictably with temperature, any damage, aging, or manufacturing variance in that sensor can cause the displayed number to drift from reality.
For a deeper breakdown of the underlying technology, our guide on what a digital thermometer actually is covers the different sensor types in more detail.
How Digital Thermometers Work
Most consumer digital thermometers rely on a thermistor: a small resistor whose resistance changes in a known, calibrated way as temperature changes. The thermometer’s internal circuit measures that resistance, converts it to a temperature value using a stored formula, and displays the result. Because that formula is fixed at the factory, any physical change to the sensor — corrosion, moisture intrusion, a hairline crack, or simple aging — throws the math off, even though the display still shows a confident, precise-looking number.
This is exactly why calibration checks matter: a broken or drifting sensor won’t announce itself. It’ll just quietly give you the wrong number with the same confidence as when it was accurate. For the full explanation of sensor physics, see how a digital thermometer works.
Tools You’ll Need
- A tall glass or insulated cup
- Crushed ice (for the ice point method)
- Distilled or filtered water (tap water works but distilled is more precise)
- A small pot and stove (for the boiling point method)
- A reliable reference thermometer, if you have one
- A small screwdriver, if your model has a manual calibration screw or reset button
- A notepad to record the offset
Method 1: Ice Point Calibration (0°C / 32°F)
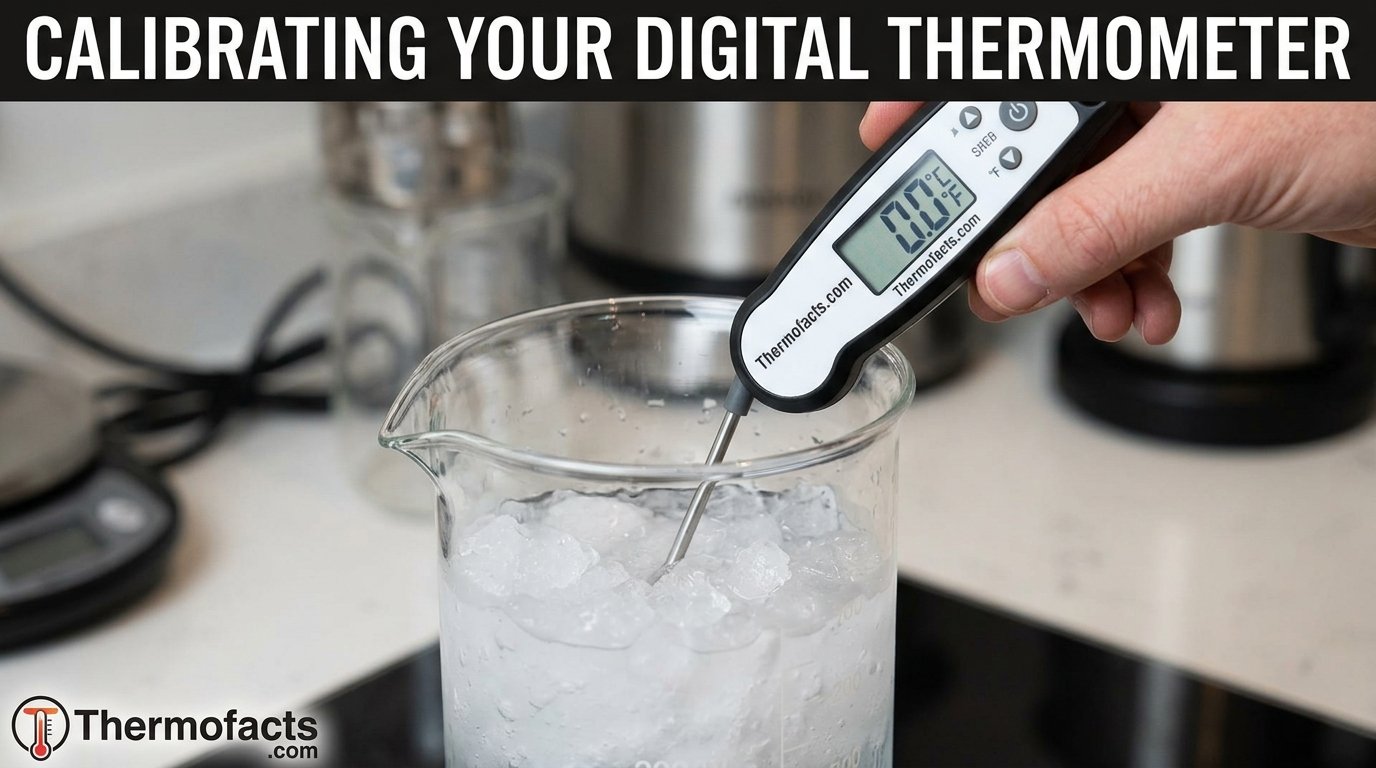
This is the most common home calibration method because it’s cheap, fast, and doesn’t require any special equipment. It works because water reliably freezes at 0°C (32°F) at standard atmospheric pressure, giving you a fixed, trustworthy reference point.
Step 1: Fill a glass with crushed ice and water
Pack a tall glass about three-quarters full with finely crushed ice, then top it with cold water until the ice is fully submerged. Stir gently and let it sit for two to three minutes so the mixture reaches a stable equilibrium temperature.
Step 2: Insert the thermometer probe without touching the sides
Push the probe into the center of the ice-water mixture, making sure the tip doesn’t touch the glass or settle at the bottom where more ice has packed. Hold it in place for at least 30 seconds.
Step 3: Read and record the result
A correctly calibrated thermometer should read 0°C (32°F), give or take about 1 degree depending on the manufacturer’s stated accuracy. Write down whatever it actually shows — that difference is your offset.
Method 2: Boiling Point Calibration (100°C / 212°F)
The boiling point method checks accuracy at the opposite end of the scale and is especially useful for thermometers used in cooking, candy-making, or brewing, where high-temperature accuracy matters most. Keep in mind the boiling point shifts slightly with altitude, so adjust your target temperature if you live somewhere significantly above sea level.
Step 4: Bring water to a rolling boil
Fill a small pot with water and bring it to a full, rolling boil on the stove — not just simmering bubbles.
Step 5: Insert the probe into the boiling water
Hold the probe in the water without letting it touch the bottom or sides of the pot. Wait for the reading to stabilize.
Step 6: Compare against 100°C / 212°F
Adjust for altitude if needed — boiling point drops roughly 1°F for every 500 feet above sea level. Record the offset the same way you did for the ice bath.
Method 3: Reference Thermometer Comparison
If you own a NIST-traceable reference thermometer or a lab-grade thermometer you trust, you can skip the ice and boiling baths entirely and simply compare readings side by side in the same environment — a glass of room-temperature water works well.
Step 7: Place both probes in the same water
Submerge your reference thermometer and the thermometer being tested in the same container of water at the same time, keeping both probes at a similar depth.
Step 8: Compare the two readings
Whatever difference shows up between the two displays is your test thermometer’s offset from a trusted standard.
Offset vs. Reset Calibration
Once you know your offset, you have two options: mentally (or on paper) apply the offset every time you take a reading, or physically reset the thermometer so it reads accurately on its own.
Offset Adjustment
- No tools required
- Works on any thermometer
- Reversible instantly
Hardware Reset
- Requires a calibration nut or reset button
- Gives a “true” reading going forward
- Not available on all models
Many dial-style and some digital probe thermometers include a small hex nut behind the dial or a reset button accessible with a paperclip — consult your model’s manual for the exact mechanism.
How Often to Calibrate
| Use Case | Recommended Frequency |
|---|---|
| Home cooking / grilling | Every 1–3 months, or after any drop |
| Commercial kitchens | Weekly to daily, per health code |
| Medical / fever thermometers | Every 6 months |
| Lab or scientific use | Before every critical measurement session |
Calibration by Thermometer Type
Instant-Read / Meat Thermometers
Best calibrated with the ice bath method since most cooking happens well below boiling.
Oral / Medical Digital Thermometers
Manufacturers rarely recommend home calibration for medical devices — instead, compare against a second known-accurate unit and replace if drift is significant. See our comparison of forehead vs. oral thermometers for accuracy differences between types.
Ear (Tympanic) Thermometers
These are sensitive to probe placement as much as sensor drift; our ear vs. temporal thermometer comparison explains what affects their accuracy.

Includes a pre-warmed tip feature that reduces measurement variance, one of the more common causes of apparent “drift” in ear thermometers.
Check Price on AmazonTroubleshooting Common Problems
| Problem | Likely Cause | Fix |
|---|---|---|
| Reading won’t stabilize | Probe touching container wall | Reposition to center of liquid |
| Reading is off by exactly the same amount every time | Consistent sensor offset | Apply offset or use reset function |
| Reading is erratic / jumps around | Failing sensor or battery | Replace battery first, then thermometer if issue persists |
| Screen is blank or dim | Low battery | Replace battery before recalibrating |
Choosing a Reliable Thermometer
If your current thermometer is drifting badly enough that offset correction isn’t practical anymore, it may simply be time to replace it. Look for models with a stated accuracy of ±0.5°F or better and, ideally, a built-in or supported calibration function. Our full best digital thermometers guide compares top options across budgets.

A fast, accurate instant-read thermometer with a simple two-point calibration procedure supported directly through its menu.
Check Price on AmazonFrequently Asked Questions
How do I know if my digital thermometer needs calibration?
Test it in an ice bath. If it doesn’t read within its stated accuracy of 0°C (32°F), it needs calibration or replacement.
Can all digital thermometers be recalibrated?
No. Many budget models have no reset mechanism, so you’ll need to apply a manual offset instead, or replace the unit.
Is the ice method or boiling method more accurate?
Neither is inherently better — ice point matches everyday temperature ranges, while boiling point checks accuracy at the high end used in cooking.
Does altitude affect calibration?
Yes, boiling point drops with altitude, so adjust your expected reading if you’re not near sea level. Ice point stays at 0°C regardless of altitude.
How long should I wait before reading the thermometer?
Most digital probes stabilize within 10–30 seconds; wait until the display stops changing.
Can I calibrate a medical thermometer at home?
You can check it against a second trusted thermometer, but manufacturers generally don’t support home recalibration of medical devices for safety reasons.
Why does my thermometer read differently every time I test it?
This usually points to a failing sensor, low battery, or inconsistent probe placement rather than normal drift.
What’s a normal accuracy range for a digital thermometer?
Most consumer models are rated between ±0.5°F and ±2°F, depending on price and intended use.
Should I use tap water or distilled water for the ice bath?
Distilled water gives a slightly more precise result, but tap water is accurate enough for home calibration checks.
How often should a kitchen thermometer be recalibrated?
Roughly every 1–3 months for home use, or immediately after it’s dropped.
Conclusion
Calibrating a digital thermometer takes less than five minutes and removes one of the most overlooked sources of error in cooking, food safety, and health monitoring. Start with the ice bath test, note any offset, and either apply that correction or reset the unit if it supports it. If your current thermometer can’t hold calibration reliably anymore, it’s a sign to upgrade to a model built for consistent accuracy.

Browse our top-tested picks for accuracy, speed, and durability.
Shop Digital Thermometers on Amazon



 Home
Home
 Info
Info
 Compare
 Reviews
 Shop
Shop