
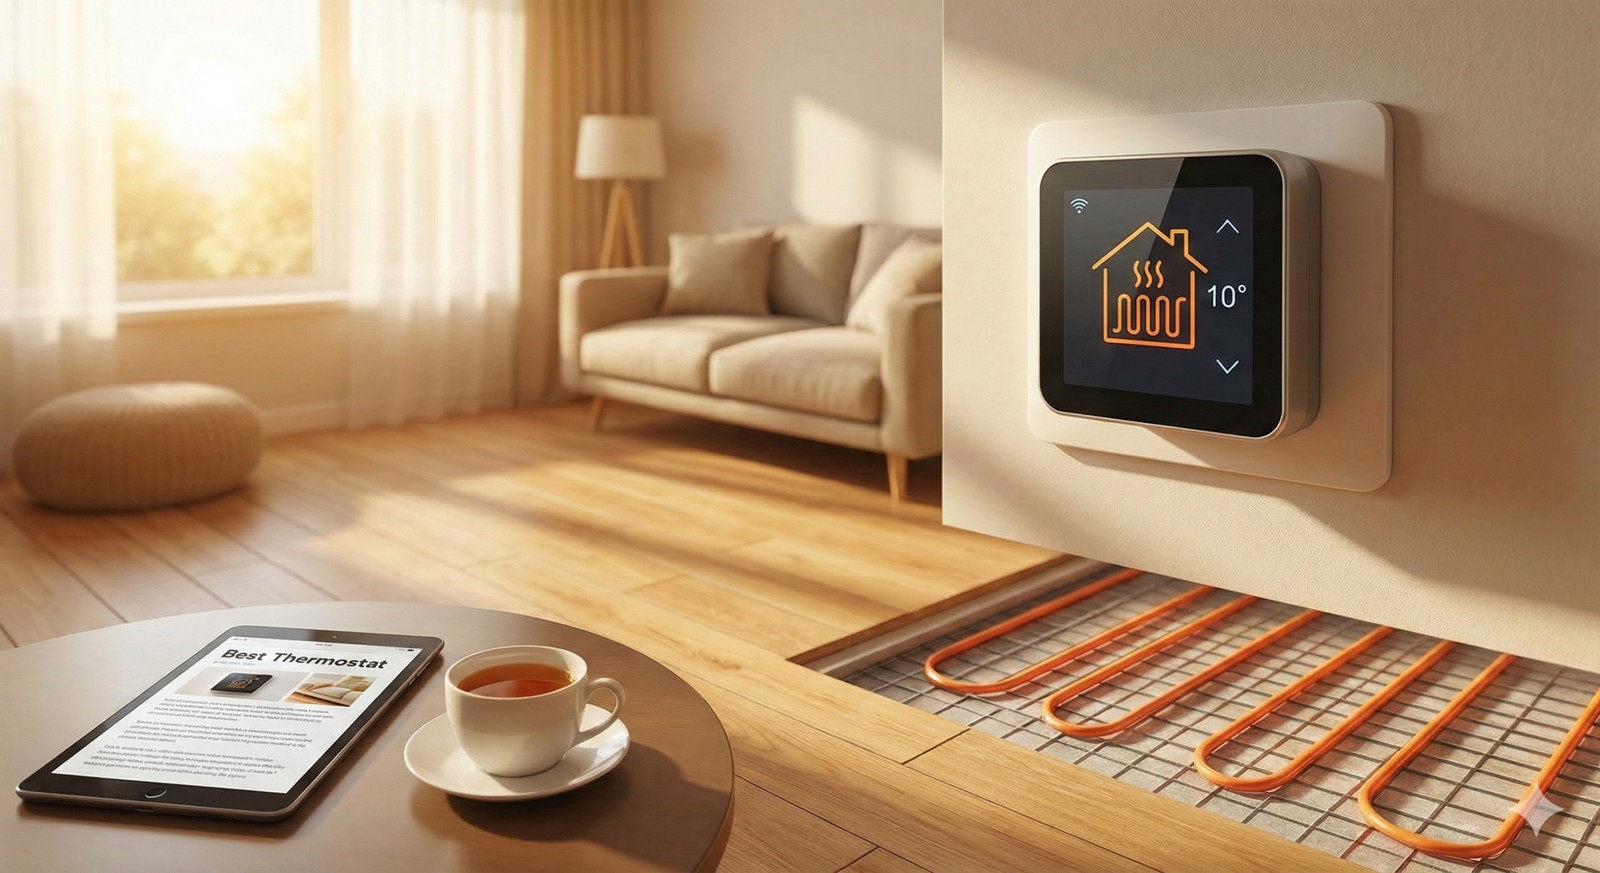
Best Thermostat for Radiant Floor Heating
Maximize comfort and minimize energy bills with these top-rated smart controls for 2025.
Radiant floor heating is the epitome of luxury home comfort. There is nothing quite like stepping onto warm tiles on a freezing winter morning. However, the efficiency and responsiveness of your heated floors rely entirely on one critical component: the thermostat.
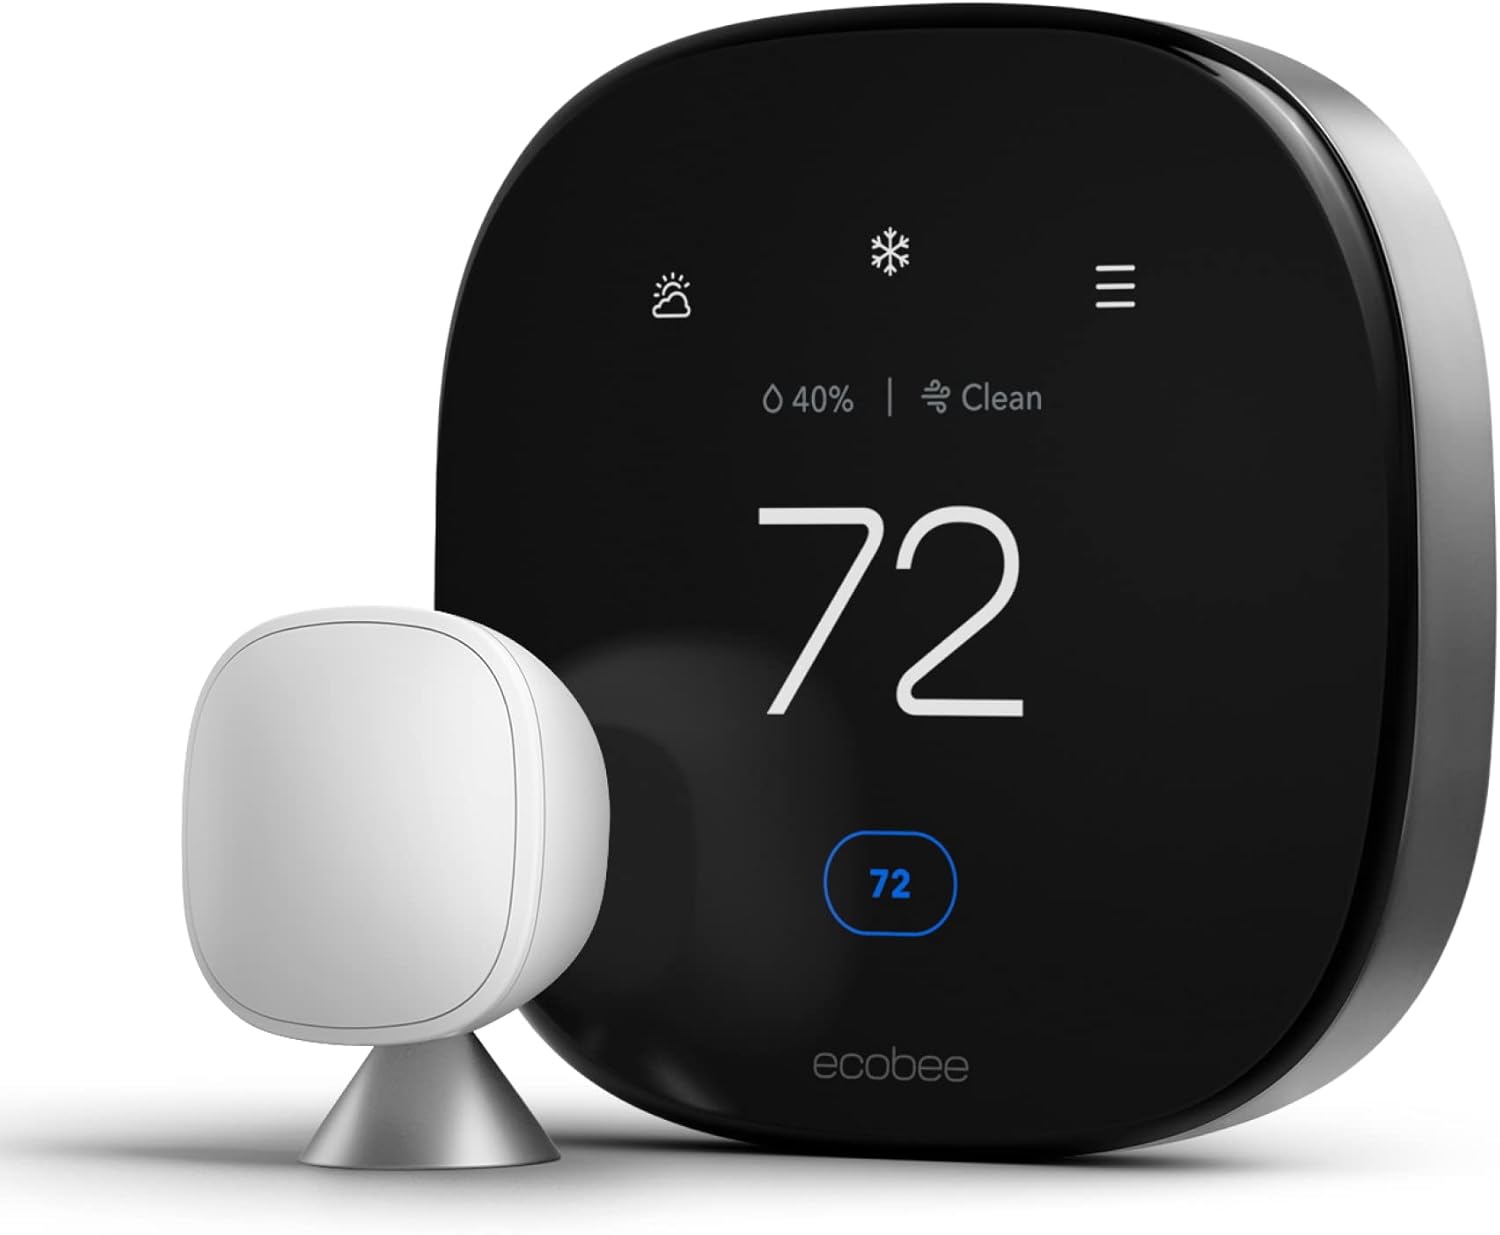
Unlike standard HVAC thermostats (like the basic Nest or Ecobee used for forced air), specific thermostats for radiant floor heating are designed to manage the unique thermal mass of flooring. They utilize dedicated floor sensors to prevent overheating and ensure the surface reaches the exact temperature you desire, not just the air in the room.
In this guide, we’ve tested and analyzed the top models on the market to help you find the perfect control system for your home, whether you have an electric mat system in your bathroom or a whole-home hydronic setup.
Quick Comparison: Top Radiant Floor Thermostats
| Model | Best For | System Type | WiFi/Smart | GFCI Built-in |
|---|---|---|---|---|
| Nuheat Signature | Overall Performance | Electric | Yes | Yes |
| Mysa for In-Floor | Smart Home Users | Electric | Yes | Yes |
| Schluter DITRA-HEAT | Schluter Systems | Electric | Yes | Yes |
| Honeywell T6 Pro | Hydronic Systems | Hydronic | Optional | No |
| SunTouch Command | Touchscreen Interface | Electric | Yes | Yes |
Electric vs. Hydronic: Knowing the Difference
Before buying, you must identify your system type. Using the wrong thermostat can lead to system failure or safety hazards.
1. Electric Radiant Floors
Common in bathrooms and kitchens, these use electric mats or cables under the tile.
Requirement: You need a thermostat capable of handling “Line Voltage” (120V or 240V). Crucially, it must have a built-in GFCI (Ground Fault Circuit Interrupter) for safety in wet areas.
2. Hydronic Radiant Floors
These use hot water pumped through tubes in the subfloor.
Requirement: These systems typically run on “Low Voltage” (24V) controls. You do not usually need a built-in GFCI, but you do need a thermostat compatible with boiler systems and slab sensors to prevent floor damage.
If you are looking to upgrade your home’s general heating efficiency beyond just floors, check out our guide on what is the best smart thermostat for energy savings.
Top Rated Radiant Thermostats Reviewed

Nuheat Signature Wi-Fi Floor Heating Thermostat
The Nuheat Signature is widely regarded as the gold standard for electric floor heating. It features a beautiful 3.5-inch color touchscreen and intuitive programming. It works with Nest, Amazon Alexa, and Google Assistant, making it a seamless addition to a modern smart home.
It supports both 120V and 240V systems and includes a built-in Class A GFCI.
Pros
- Stunning high-res touchscreen
- Energy usage monitoring built-in
- Works with Nest and voice assistants
- Setup wizard makes installation easy
Cons
- Premium price point
- Requires a dedicated neutral wire (standard for these units)
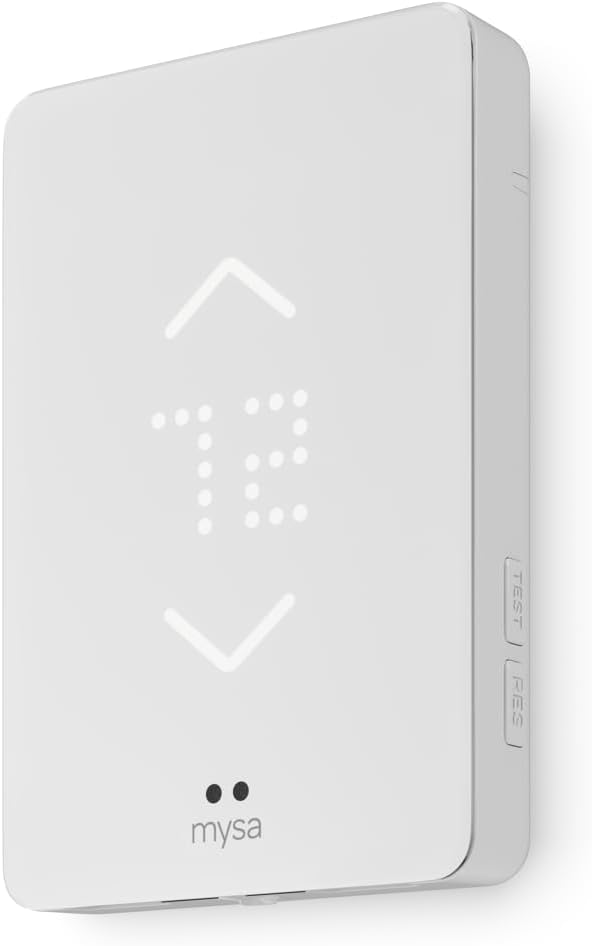
Mysa Smart Thermostat for Electric In-Floor Heating
If you love app-based control, Mysa is the clear winner. It has a sleek, minimalist LED display that disappears when not in use. The Mysa app is superior to most competitors, offering robust scheduling, geofencing, and energy charting.
It is specifically designed for high-voltage electric in-floor heating and is compatible with most existing floor sensors, making it a great upgrade option.
Pros
- Minimalist, modern design
- Excellent mobile app experience
- Apple HomeKit compatible
- Adaptive learning technology
Cons
- No color touchscreen (LED dot matrix)
- Only for electric systems

Schluter DITRA-HEAT-E-WiFi Thermostat
If you are installing the popular Schluter DITRA-HEAT membrane system for your tile floors, sticking with their proprietary thermostat is a smart move. It ensures perfect compatibility and warranty coverage.
The WiFi version allows for remote access and features a “birds-eye” control allowing you to manage multiple zones from a single app login.
Pros
- Designed specifically for DITRA systems
- Reliable WiFi connectivity
- Includes a floor temperature sensor
- Clean, unobtrusive interface
Cons
- App interface is functional but basic
- Slightly bulkier faceplate than Mysa

Honeywell Home T6 Pro Hydronic Thermostat
For water-based (hydronic) systems, you need a different beast. The T6 Pro Hydronic is designed to handle the 24V control loops used by boilers and pumps. It includes terminals for a wired floor sensor (often sold separately or included in specific kits) to manage slab temperature.
It prevents the “overshoot” common in hydronic systems by learning the thermal properties of your specific floor.
Pros
- Excellent handling of boiler systems
- Simple, universally understood interface
- Very reliable and durable
- Supports A (Air), F (Floor), and AF (Combined) modes
Cons
- Not for high-voltage electric mats
- Basic aesthetic compared to touchscreens
Buying Guide: Features That Matter
When shopping for the best thermostat for radiant floor heating, keep these technical specifications in mind to avoid purchasing an incompatible unit.
1. Floor Sensor Capability
Standard thermostats measure air temperature. Radiant thermostats must measure floor temperature. Why? Because tile can get uncomfortably hot before the air in the room warms up. A floor sensor (a probe buried in the thinset) limits the floor temperature to a safe level (usually 82°F – 85°F) while still heating the room.
Tip: Most electric stats come with a sensor, but if you are replacing an old unit, check if your existing sensor is 10k ohm or 12k ohm to ensure compatibility.
2. Built-in GFCI
For electric systems, the National Electrical Code usually requires Ground Fault Circuit Interrupter protection. While you can install a GFCI breaker in your panel, it is much easier to buy a thermostat with a built-in Class A GFCI (5mA trip level). All our electric top picks include this.
3. Smart Integration
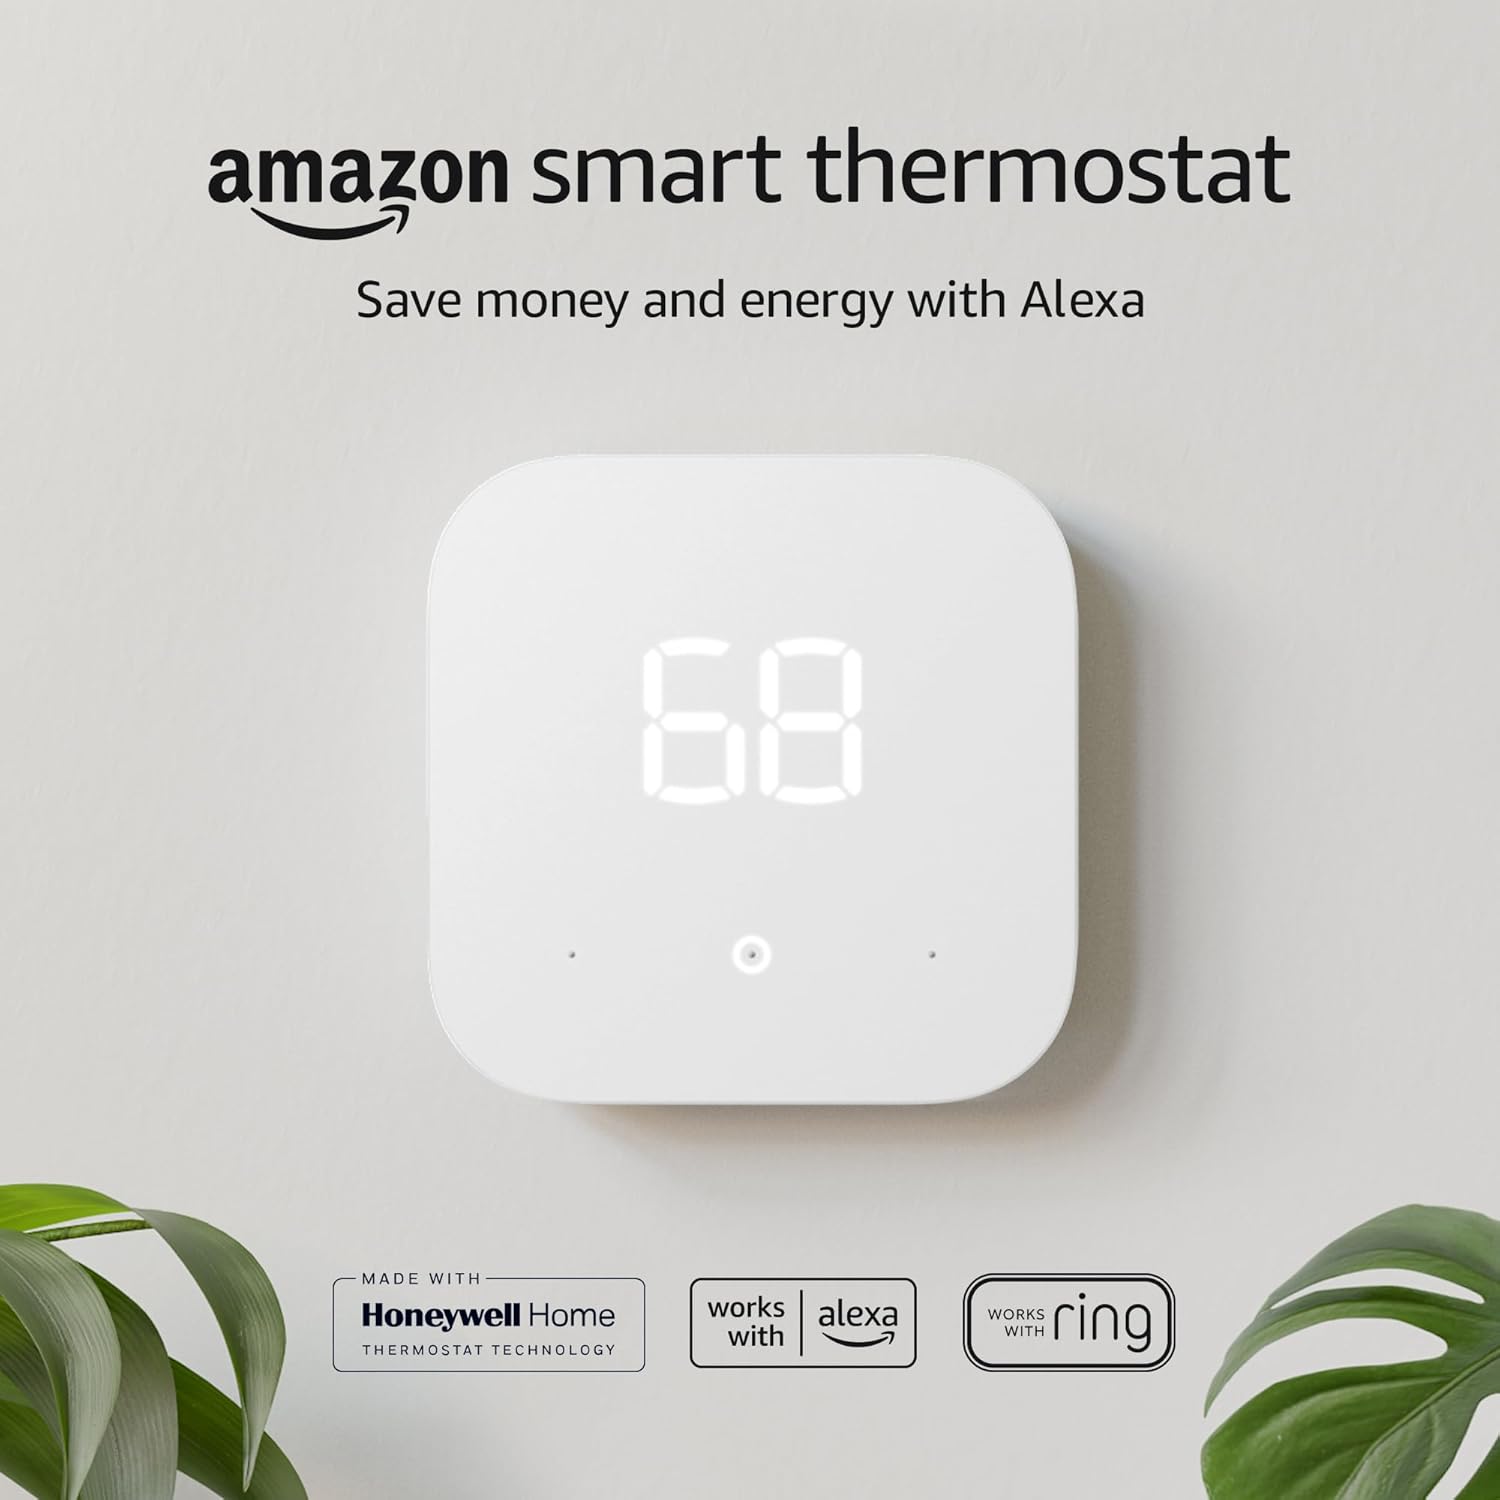
Do you want to warm up the bathroom floor from bed? Look for WiFi models. If you already have a smart home ecosystem, check specifically for integration. For example, if you are deep into the Google ecosystem, see our comparison of Google Nest vs. Amazon Smart Thermostat to understand how different ecosystems play together, though note that for floor heating, specific brands like Nuheat often integrate better than generic smart stats.
4. Load Capacity
Most thermostats can handle up to 15 Amps. If you have a very large heated area (typically over 150 sq. ft. at 120V), you may exceed this amperage. In that case, you will need a power relay module to connect multiple mats to one thermostat.
Installation Tips for Longevity
Installing a radiant floor thermostat is slightly more complex than a standard wall unit.
- Sensor Placement: Never place the floor sensor directly on top of a heating wire. It must be centered exactly between two heating wires to get an accurate average temperature.
- Backup Sensor: It is highly recommended to install a second “dummy” sensor in the floor during installation. If the primary sensor fails years down the road, you can simply swap the wires at the wall unit rather than ripping up your expensive tile.
- Conduit: Run the sensor wires through a separate conduit from the high-voltage power lines to prevent signal interference.
If you are troubleshooting an existing installation, you might find our guide on thermostat not reaching set temperature helpful for diagnosing sensor or placement issues.
How Much Does a Radiant Floor Thermostat Cost?
Budget is usually the first question homeowners ask once they understand that a “regular” thermostat won’t work for heated floors. The honest answer is that price varies a lot depending on whether you’re buying a basic non-programmable model or a WiFi touchscreen unit with app control, and whether you’re paying an electrician to install it or doing it yourself.
Unit Price Ranges
At the low end, a basic non-programmable electric floor thermostat with a mechanical dial and a single floor sensor input can run as little as $60 to $90. These units still include the required GFCI protection, but they lack scheduling, WiFi, and any kind of app.
Mid-range programmable models with a 7-day schedule and a small LCD screen typically land between $100 and $160. This is the sweet spot for most bathroom or kitchen retrofits where you want scheduling but don’t necessarily care about remote access.
Premium WiFi and touchscreen models — the Nuheat Signature, Mysa, and Schluter DITRA-HEAT-E-WiFi featured above — generally cost $180 to $260 depending on retailer and current promotions. You’re paying for the touchscreen or app experience, voice assistant compatibility, and in some cases energy-usage reporting.
Hydronic-specific thermostats sit in a slightly different price band. Because they’re controlling a 24V zone valve or circulator pump rather than switching high-amperage line voltage directly, many hydronic-compatible thermostats (including smart thermostats originally designed for forced-air systems, when wired through a compatible relay) range from $100 to $250.
Installation Costs: DIY vs. Professional
If you’re simply swapping a like-for-like thermostat — same voltage, same sensor type, existing wiring already in the wall — many confident DIYers can do the swap themselves in under an hour with basic hand tools and a non-contact voltage tester. In that scenario, your only cost is the thermostat itself.
If you need a licensed electrician (recommended for anyone not comfortable working with 240V circuits, or in regions where electrical permits are required for line-voltage work), expect to pay a flat service call fee plus labor. In most U.S. markets, that works out to roughly $120 to $250 for a straightforward swap, and $250 to $500+ if new wiring, a new dedicated circuit, or a new GFCI-protected breaker needs to be run.
Tip: Many jurisdictions require electrical permits for line-voltage thermostat installations tied to permanent heating systems. Check your local code before starting a DIY swap, especially if you’re also replacing flooring at the same time and want the work to pass inspection.
Total Cost of Ownership
Don’t just look at the sticker price. A programmable or WiFi thermostat that shaves 15-20% off your heating runtime (see our programming guide below) can pay for the price difference over a basic dial thermostat within one or two heating seasons, especially in colder climates where floors run for six-plus months a year.
Best Thermostat Setup by Flooring Type
The flooring material sitting on top of your heating element changes how quickly heat transfers, how hot the surface can safely get, and how precisely your thermostat needs to regulate the floor sensor. Here’s how to match your thermostat settings and sensor strategy to what’s actually on the floor.
Porcelain and Ceramic Tile
Tile is the ideal partner for radiant heat — it has excellent thermal conductivity, meaning heat moves through it quickly and evenly, and it tolerates a wide temperature range without damage. Any of our top picks (Nuheat, Mysa, Schluter, SunTouch) work great under tile. You can safely run tile floors up to 85°F without concern.
Engineered Hardwood
Solid hardwood and engineered hardwood are far more temperature-sensitive. Excess heat can dry out and crack wood over time, so manufacturers typically cap floor temperature at 80-82°F under wood flooring, sometimes lower depending on the wood species and the flooring manufacturer’s own warranty terms. Look for a thermostat with a precise floor-sensor mode (not just an air-sensing mode) and the ability to set a hard maximum floor temperature limit — the Nuheat Signature and Honeywell T6 Pro Hydronic both support this well. Always check your wood flooring manufacturer’s specific radiant heat compatibility and maximum temperature guidance before installation, since exceeding it can void the flooring warranty.
Luxury Vinyl Plank (LVP) and Laminate
LVP and laminate are increasingly common over radiant systems because they’re moisture-tolerant and budget-friendly, but many LVP products have a firm maximum temperature limit (often around 82-85°F) beyond which the vinyl can soften, discolor, or delaminate from its backing. A thermostat with a strict floor-sensor limiting mode is non-negotiable here — an air-sensing-only thermostat can allow the floor surface to spike well past the vinyl’s rated limit on a cold morning before the air temperature catches up.
Carpet
As mentioned in our FAQ section, carpet’s insulating effect means a floor sensor is mandatory, not optional, for carpeted rooms. Choose a carpet with a low combined R-value from carpet and pad (generally under R-1.5 total, though always confirm with your specific heating system manufacturer) to avoid trapping heat and stressing the heating element.
Natural Stone
Stone (marble, slate, travertine, granite) behaves similarly to tile in terms of heat tolerance but often has a higher thermal mass, meaning it takes longer to heat up and longer to cool down. If you’re using a WiFi thermostat with scheduling, build in extra pre-heat lead time — 60-90 minutes rather than the 30-60 minutes typical for tile — so the stone reaches temperature by the time you want it.
Wiring and Amperage: What Electricians Check Before Installation
Even if you’re hiring a professional, understanding the wiring basics helps you choose the right thermostat model and avoid a surprise mid-installation when a unit turns out to be undersized for your heated area.
Calculating Your Amperage Load
Electric radiant floor heating cable and mats are rated in watts per square foot, typically 12-15 watts/sq ft for standard installations. To estimate your amperage draw, use this formula:
Amps = Total Watts ÷ Voltage
For example, a 150 sq ft bathroom heated at 12 watts/sq ft draws 1,800 watts. On a 120V circuit, that’s 15 amps — right at the maximum continuous load most single thermostats are rated to switch. On a 240V circuit, the same load only draws 7.5 amps, leaving significant headroom.
Wire Gauge Considerations
Most residential radiant floor thermostat circuits use 12-gauge (20A circuit) or 14-gauge (15A circuit) wire, matching standard household branch circuit conventions. Always follow the thermostat manufacturer’s wiring diagram and your local electrical code rather than reusing wire gauge from a different appliance circuit — floor heating cables draw sustained loads for extended periods, unlike a lot of switched loads in a home, and undersized wire run continuously at near-capacity can overheat.
Dedicated Circuits
Radiant floor heating should always be on its own dedicated circuit, not shared with lighting, outlets, or other appliances. This is both a code requirement in most jurisdictions and a practical necessity — a shared circuit risks nuisance tripping when the heating cable and another device both draw power simultaneously.
When You Need a Contactor or Relay
As mentioned in the buying guide, once your calculated amperage exceeds the thermostat’s rated switching capacity (commonly 15A, sometimes 20A on heavier-duty models), you need an external contactor or power relay. The thermostat then switches the relay’s low-current control circuit, and the relay handles the full heating load. This is standard practice for large open-concept kitchens, whole-basement radiant slabs, or multi-room zones run from a single control point.
Multi-Zone and Relay Setups Explained
Many homes have more than one radiant-heated area — a primary bathroom, a mudroom, and a kitchen, for instance — and homeowners often ask whether they can consolidate control into fewer thermostats or manage everything from one app.
One Thermostat Per Zone Is Still Best Practice
As we noted in the FAQ, using a single thermostat to control multiple rooms means the sensor in one location dictates heating for spaces that may have very different heat loss characteristics, foot traffic patterns, and usage schedules. The better approach for multi-room installations is one thermostat per distinct zone, even if that means installing three or four units instead of one.
Centralizing Control Without Sacrificing Zoning
The good news is that “one thermostat per zone” doesn’t mean losing centralized control. WiFi-enabled models like Mysa, Nuheat, and Schluter’s DITRA-HEAT-E-WiFi all support multiple devices under a single app account, letting you view and adjust every zone in the house from one dashboard while each physical thermostat still reads its own local floor sensor independently. This is the best of both worlds: accurate, zone-specific heating with unified remote control.
Power Relay Wiring for Large Zones
For a single large zone that exceeds one thermostat’s amp rating (see the wiring section above), a power relay module sits between the thermostat and the heating cable. The thermostat’s low-voltage output signal triggers the relay, and the relay switches the full 240V/high-amperage load to the mat. Reputable relay kits are sold by the same manufacturers as the thermostats (Nuheat, SunTouch, and others all offer compatible relay accessories), which simplifies compatibility and keeps the warranty intact.
Grouping Zones by Usage Pattern
When setting up schedules across multiple zones, group them by how the spaces are actually used rather than by physical proximity. A primary bathroom and a home gym might both warrant an early-morning pre-heat cycle, while a guest bathroom used only occasionally is better left on a lower-maintenance “away” setting most of the week, activated on demand through the app when guests are staying over.
How to Program Your Thermostat for Maximum Energy Savings
Buying a programmable or WiFi thermostat is only half the battle — the savings only materialize if the schedule actually matches how you use the space. Here’s a practical framework for building an effective schedule.
Start With Your Real Routine, Not a Generic Template
Most thermostats ship with a default schedule assuming a fairly conventional 9-to-5 routine: warm in the morning, cool during the day, warm in the evening, cool overnight. If your household doesn’t match that pattern — remote work, shift work, a home gym used at odd hours — rebuild the schedule around your actual usage rather than leaving the factory default in place.
A Sample Bathroom Schedule
| Time Block | Target Floor Temp | Rationale |
|---|---|---|
| 5:30 AM – 8:00 AM | 82°F | Pre-heat before morning routine begins |
| 8:00 AM – 5:00 PM | 65°F (or off) | Room unused during work hours |
| 5:00 PM – 10:00 PM | 80°F | Evening use, showers, wind-down |
| 10:00 PM – 5:30 AM | 65°F (or off) | Overnight setback while sleeping |
Account for Thermal Lag
Radiant floors don’t respond instantly. Tile over a thin-set installation typically takes 30-45 minutes to noticeably warm; a thick concrete slab can take two to three hours. Set your pre-heat start time accordingly, and if your thermostat supports “learning” or adaptive start (Mysa and Nuheat both offer versions of this), let it run for a couple of weeks so it can calibrate the lead time automatically based on your specific floor’s thermal mass.
Use Setback Sparingly on High-Mass Floors
For thin electric mat installations under tile, aggressive setbacks (dropping 15-20°F when the room is unused) save real energy because the floor recovers quickly. For thick hydronic slabs with high thermal mass, deep setbacks can actually cost more energy overall because the system has to work much harder to recover the temperature, and the floor may never fully “coast” during off-hours the way a lighter system does. A shallower setback (5-8°F) is often more efficient for slab systems — check your specific thermostat and system documentation, since optimal setback strategy varies by installation.
Geofencing and Away Modes
If your thermostat supports geofencing (Mysa does, via the companion app), let the system automatically drop to an away setpoint when everyone’s phones leave a set radius around the house, and resume the normal schedule when someone returns. This captures savings on unpredictable days without you needing to remember to adjust anything manually.
Retrofitting a Thermostat Into an Existing Radiant Floor
Not every radiant floor thermostat purchase is for new construction. A large share of buyers are replacing a failed or outdated thermostat on a floor that’s already installed and finished — which comes with its own considerations.
Confirming Sensor Compatibility First
Before ordering a new thermostat for an existing floor, confirm the resistance value of your existing embedded floor sensor. Most electric systems use either a 10k ohm or 12k ohm NTC thermistor sensor, and these are not interchangeable — pairing a new thermostat with the wrong sensor type will cause inaccurate temperature readings even though the unit appears to power on and function normally. You can test your existing sensor’s resistance at room temperature with a simple multimeter and compare it against the manufacturer’s chart to confirm which type you have.
What If the Old Sensor Has Failed?
If your old sensor reads open-circuit (infinite resistance) or shorted (near-zero resistance) rather than a value in the expected range, the embedded sensor itself has failed — a common reason people are shopping for a new thermostat in the first place. In this scenario, check whether you installed a backup “dummy” sensor when the floor was originally built (see our installation tips). If a backup exists, an electrician can simply switch the wire terminals at the wall to bring the spare sensor online. If no backup sensor was installed, some advanced thermostats (Nuheat’s regulator mode is a good example) can run the system on a timed duty-cycle instead of true temperature feedback, though you lose precise overheat protection in that mode.
Matching Wall Box Depth
Older homes sometimes have shallower electrical wall boxes than modern touchscreen thermostats require. Before buying a large touchscreen unit like the Nuheat Signature, check the manufacturer’s minimum wall box depth specification against what’s currently installed — this is a frequently overlooked retrofit snag that can mean an unplanned box replacement mid-project.
Retrofitting Hydronic Zone Controls
For hydronic retrofits, confirm whether your existing zone valve or circulator pump wiring is compatible with a 24V thermostat control signal, and whether the thermostat you’re considering needs a C-wire (common wire) for continuous power — many smart hydronic-compatible thermostats do, and older hydronic systems weren’t always wired with one. A licensed technician can typically add a C-wire adapter at the boiler or add a separate low-voltage transformer if a direct C-wire isn’t available.
Long-Term Maintenance and Care
Radiant floor thermostats are largely “set and forget” devices, but a small amount of periodic attention extends their lifespan and keeps them operating efficiently.
Test the GFCI Monthly
Electric floor thermostats with a built-in GFCI include a test button, exactly like a GFCI outlet in a kitchen or bathroom. Manufacturers generally recommend testing it monthly to confirm the ground-fault protection is still functioning. If the test button fails to trip the circuit, the thermostat should be serviced or replaced promptly, since this is a genuine safety feature, not a convenience one.
Keep Firmware and Apps Updated
WiFi-enabled thermostats periodically release firmware updates that patch bugs, improve WiFi reliability, and occasionally add new scheduling or automation features. Check your app’s settings menu every few months, or enable automatic updates where the manufacturer offers that option.
Clean the Faceplate and Vents Carefully
Touchscreen units in particular collect dust and, in bathrooms, a fine film of hairspray or other aerosol residue over time. Wipe the faceplate with a slightly damp microfiber cloth — never spray cleaner directly onto the unit, and avoid abrasive cleaners that can scratch the touchscreen coating.
Watch for Early Warning Signs
A thermostat that’s struggling often shows warning signs before it fails outright: intermittent WiFi drops, a floor that runs noticeably hotter or cooler than the setpoint, or a display that flickers or dims unexpectedly. Any of these are worth investigating before the unit fails completely, ideally during a season when a temporary loss of heated floors is an inconvenience rather than a real problem.
Expected Lifespan
Quality radiant floor thermostats typically last 10-15 years under normal residential use, similar to a standard programmable thermostat. The floor sensor embedded in the slab or thin-set generally outlasts the wall unit itself, which is exactly why keeping a spare sensor wired in during the original installation is such a valuable long-term investment.
Troubleshooting Common Problems
Most radiant floor thermostat issues fall into a handful of recurring categories. Here’s how to diagnose the most common ones before calling a professional.
Floor Isn’t Heating At All
First, confirm the breaker hasn’t tripped and the thermostat’s GFCI test/reset button hasn’t tripped (this is the single most common cause of a “dead” system, and resetting it solves the problem instantly in a large share of cases). Next, confirm the thermostat is actually set above the current floor temperature and not accidentally left in a scheduled “off” or “away” period.
Floor Heats Unevenly
Uneven heating usually points to either a sensor placed too close to a heating wire (giving a falsely high reading that shuts the system off prematurely in that area) or a heating cable that was installed with uneven spacing during the original build. Unfortunately, wire spacing issues aren’t something a new thermostat can fix — they’re a flooring installation issue.
Display Shows an Error Code
Specific error codes vary significantly by manufacturer and model, so always check your unit’s manual or the manufacturer’s support site for the exact code you’re seeing rather than relying on a generic troubleshooting guide. That said, error codes broadly fall into a few universal categories across nearly every brand: a sensor fault (open or shorted floor sensor), a WiFi connectivity fault (lost connection to the home network or cloud service), an overheat/safety fault (the system detected a floor temperature above its safe maximum and shut down as a protective measure), or a GFCI fault (a ground fault was detected on the load side). Identifying which category your specific code falls into, using your unit’s manual, is the fastest path to the right fix.
App Won’t Connect or Shows “Offline”
WiFi-based smart thermostats depend on a stable 2.4GHz home network connection (most do not support 5GHz networks — a very common setup mistake during initial installation). If the app shows the unit offline, confirm your router’s 2.4GHz band is broadcasting, that the thermostat is within reasonable range of the router or a mesh extender, and that your home network password hasn’t recently changed without being updated on the thermostat itself.
Thermostat Runs Constantly Without Reaching Setpoint
This is often a sign of a genuinely undersized heating system relative to the room’s heat loss (common in rooms with large uninsulated windows, poor sub-floor insulation, or a heating cable that doesn’t cover enough of the floor area), rather than a thermostat malfunction. If the system was correctly sized at installation and only recently developed this symptom, it can also indicate a partial heating cable fault reducing the effective wattage reaching the floor.
Warranty and Manufacturer Support Compared
Warranty length and support quality vary meaningfully across brands, and it’s worth weighing alongside price and features since a heating system failure inside walls or under tile is far more disruptive — and expensive — to access than a typical appliance repair.
What to Look For in Radiant Heating Warranties
Pay attention to whether the warranty covers the thermostat only, or the thermostat plus the heating cable/mat as a bundled system. Manufacturers who sell complete systems (thermostat, cable, and sometimes even installation membrane) often extend longer warranties — sometimes lifetime warranties on the cable itself — when all components are purchased and registered as a matched set, compared to shorter standalone thermostat warranties when components are mixed and matched across brands.
Registration Requirements
Many radiant heating manufacturers require product registration within a set window after installation (commonly 30-90 days) to activate the full warranty term. This is easy to overlook once the floor is finished and the project feels “done” — set a reminder to register your thermostat and any accompanying heating cable as soon as installation is complete.
Support Channel Quality
Brands that manufacture complete radiant heating systems (rather than general smart-home companies that happen to make a floor-heating compatible model) typically offer more specialized phone and chat support staffed by people who understand radiant heating specifically, rather than general smart-thermostat troubleshooting. This can matter significantly if you run into an installation question that’s specific to radiant systems, like sensor placement or slab curing schedules for new concrete pours.
Voice Assistant and Smart Home Automation Deep Dive
Beyond basic app scheduling, several radiant floor thermostats integrate into broader smart home ecosystems, unlocking more sophisticated automations.
Voice Control
“Alexa, set the bathroom floor to 82 degrees” is a genuinely useful command on cold mornings, and it’s supported by the Nuheat Signature and several other WiFi-enabled models through Amazon Alexa and Google Assistant skills. Voice control is particularly handy for quick adjustments when your hands are full or you’re not near a phone.
Apple HomeKit Considerations
If your household is built around Apple HomeKit specifically, note that HomeKit compatibility is less universal among radiant floor thermostats than Alexa or Google Assistant support. Mysa is currently one of the more prominent HomeKit-compatible options in this category — if HomeKit integration is a hard requirement, confirm current compatibility directly on the manufacturer’s site before purchasing, since smart home certifications and supported ecosystems can change with firmware updates.
Cross-Device Automations
Smart home platforms let you chain radiant floor heating into broader routines — for example, triggering the bathroom floor to pre-heat automatically when your smart alarm clock goes off, or linking it to a “good morning” routine that also raises the lights and starts the coffee maker. These automations typically require the thermostat’s own app to expose its status to a hub platform like SmartThings, Google Home, or Apple Home, so check the specific integration depth (not just “compatible,” but which functions are actually exposed) before assuming a given automation will work.
Energy Monitoring and Reporting
Some WiFi models, including the Nuheat Signature, include built-in energy usage tracking that estimates runtime and approximate electricity cost directly in the app. This is useful for confirming your programmed schedule is actually delivering the savings you expect, and for spotting a sudden runtime increase that might indicate a developing system fault before it becomes a bigger problem.
Common Mistakes to Avoid
- Buying based on air-sensing mode alone: A thermostat that only reads room air temperature, without a dedicated floor sensor input, cannot protect sensitive flooring like hardwood or LVP from overheating. Always confirm floor-sensor mode is supported and actually wired in during installation.
- Ignoring the amperage rating: Installing a large heated area on a thermostat rated below your calculated load is a fire risk and a code violation, not just a performance shortfall. Run the math (see the wiring section above) before assuming any thermostat will work.
- Skipping the backup sensor: It costs almost nothing extra during initial installation and can save a full floor demolition years later if the primary sensor fails.
- Mixing sensor types: Pairing a 12k ohm sensor with a thermostat expecting 10k ohm (or vice versa) leads to inaccurate temperature control that isn’t always obvious until the floor is uncomfortably hot or cold.
- Connecting to a 5GHz-only network: Most smart floor thermostats need a 2.4GHz WiFi band; connection failures during setup are very often traced back to this single detail.
- Setting overly aggressive setbacks on high-mass slabs: As covered in our programming guide, deep temperature setbacks that work well on thin electric mats can backfire on thick hydronic slabs, actually increasing energy use rather than reducing it.
- Forgetting to register the product: Missing a manufacturer’s warranty registration window can shorten your effective coverage significantly.
Frequently Asked Questions
Final Thoughts
Choosing the best thermostat for radiant floor heating comes down to your system type. For electric mats, the Nuheat Signature offers the best premium experience, while Mysa is the top choice for smart home enthusiasts. For hydronic systems, the reliability of the Honeywell T6 Pro is hard to beat.
Investing in a quality control unit protects your expensive flooring investment and ensures your feet never have to touch cold tile again.




 Home
Home
 Info
Info
 Compare
 Reviews
 Shop
Shop